Here are the steps to install windows 7 on PC.
Windows 7 is the one of the most common operating system today it is used by 27.5% of all operating systems.
System requirements
Before you start installing your Windows 7, it is recommended that you check your hardware setup and find out if it corresponds to the recommended system requirements by Microsoft. The Windows 7 minimum system requirements are as follows:
|  |
If you are upgrading a previous version of Microsoft Windows to Windows 7, the application Upgrade Advisor can provide you with all recommendations and requirements before the upgrade.
Booting your operating system using a DVD
Take out your Windows 7 DVD and insert it into the computer (if your computer does not have a DVD drive, please read the USB installation guide). If the installation does not run automatically, it is necessary to restart your computer and, in some cases, set up a booting priority in the BIOS (press the Delete, F2 or F12 button immediately after restarting the computer) so that your DVD drive is at the top of the list (Pic. 1). The BIOS version is based on your motherboard and the booting priority is usually found under the Boot option. Change the booting priority and confirm the changes by clicking the Exit & Save changes.
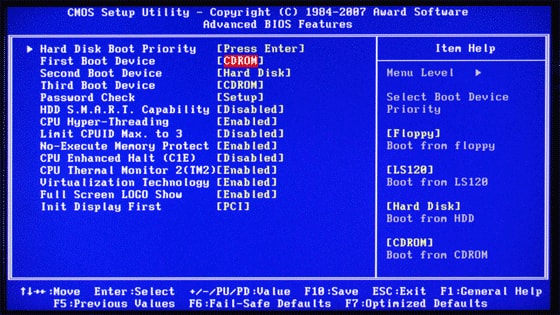 |
| Pic. 1 BIOS booting setup |
Running the installation
If the DVD booting setup was successful, the Windows 7 installation should run automatically after restarting the computer (see Pic. 2).
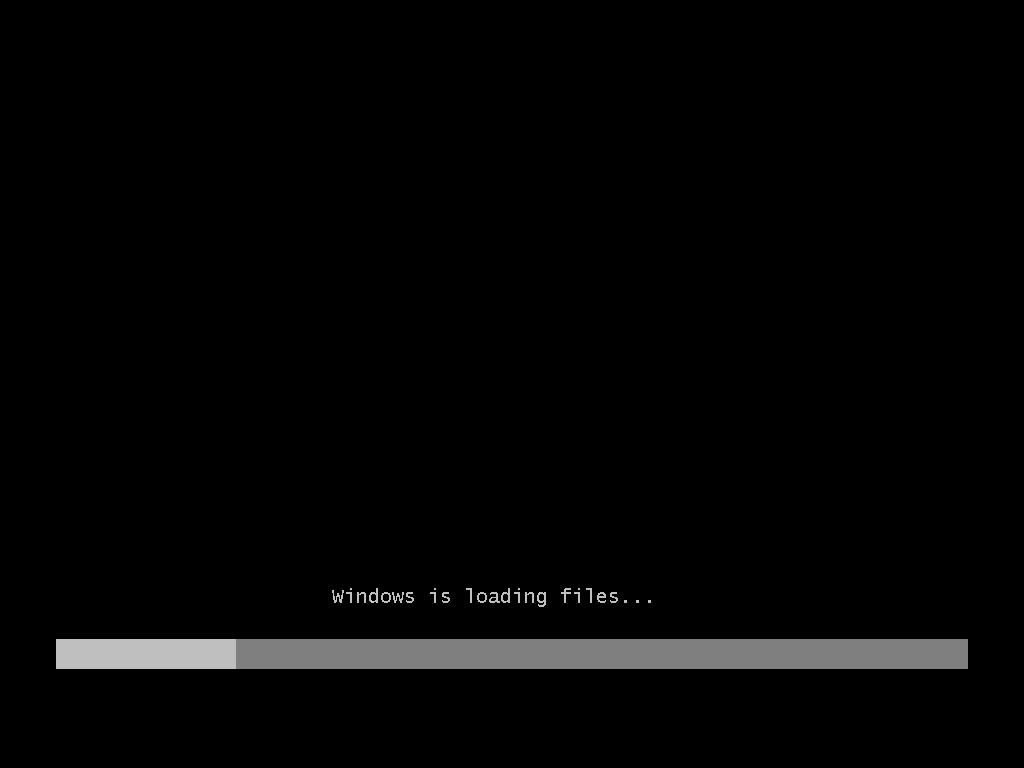 |
| Pic. 2 Windows 7 installation loading screen |
Language setting option
The first step is choosing a language, time format, currency and keyboard layout. Choose your language setting in the first step (Pic. 3). This setting will carry on onto the next steps (Pic. 4), so all you need to do is click Next.
 | |
| Pic. 3 Choose your language |
License terms acceptance
In the next step you have to click on Install now (Pic. 4) and then the license terms must be accepted by ticking the “I accept the license terms” checkbox. Then just click Next to proceed.
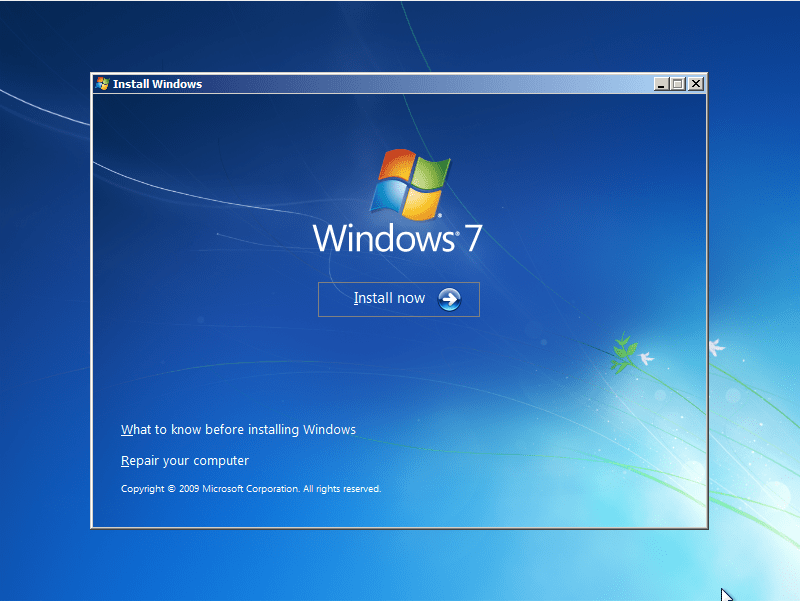 | 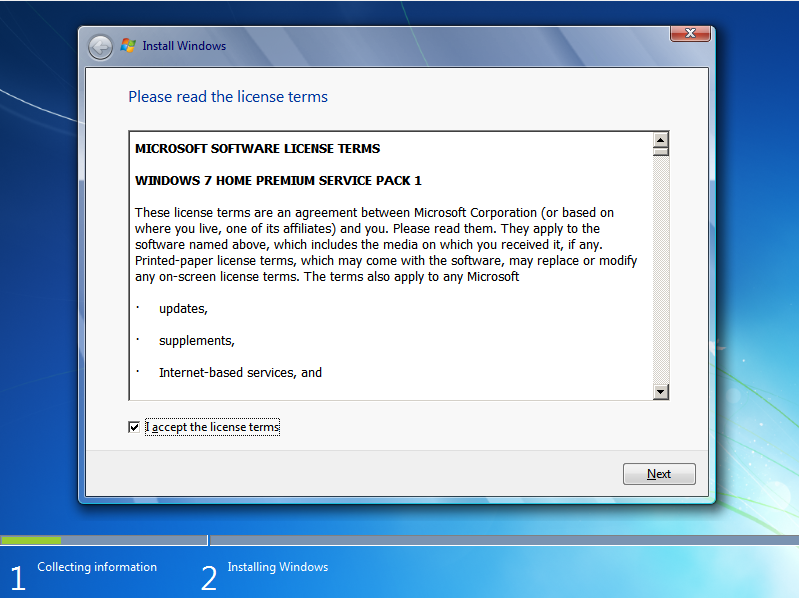 |
| Pic. 4 Installation | Pic. 5 Accepting the license terms |
Which type of installation?
If you already have a previous version of Windows installed on your computer, the installation process will offer you a Windows 7 Upgrade option (Pic. 6). In this case, we recommend choosing the Custom option and perform a complete reinstall. Before doing so, it is important to back up all important files and documents because all data will be deleted. You can use, for example, the Cobian backup application for preforming a backup. If you are installing Windows on a computer without an operating system, this option will not be available.
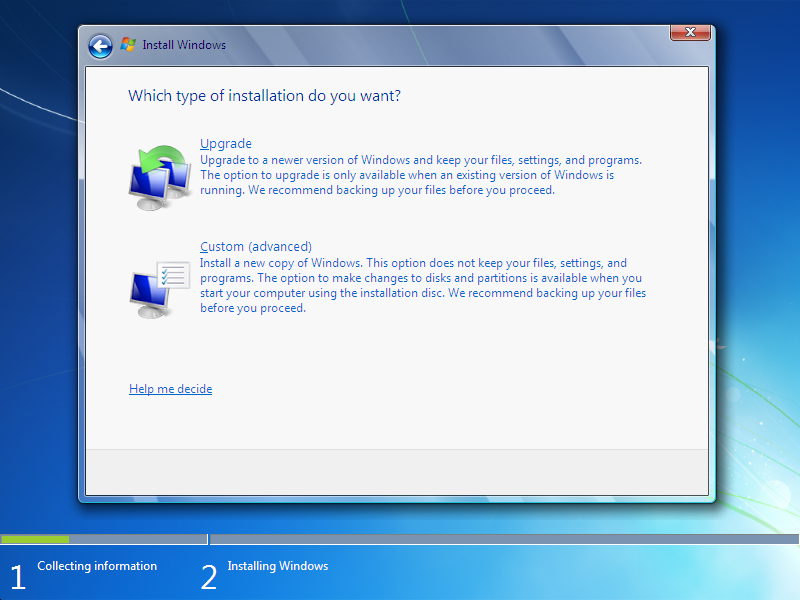 |
| Pic. 6 Installation type option |
Where do you want to install Windows?
If you are installing Windows 7 on a computer with a previous Windows version, an allocated drive will be created for the installation (Pic. 7). Click this drive and click on Drive options (advanced), then click on Remove. Once you remove disks, a Disk 0 Unallocated space will remain (Pic. 8). If you do not want to divide your disk into several drives, click Next.
Warning! If you have several disks or allocated spaces in your computer, from which one is reserved for system files and others are for your files and documents which you want to keep, remove only the one which is reserved for the system files and click Next.
 | 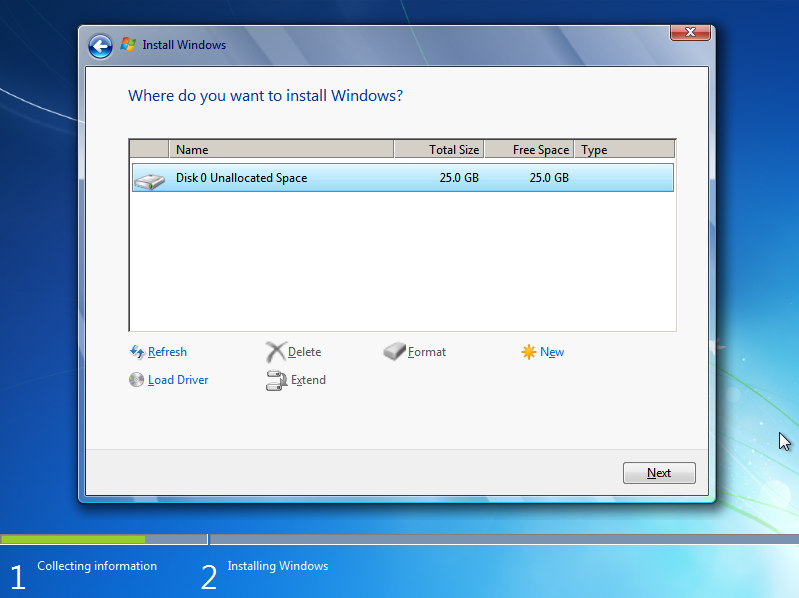 |
| Pic. 7 Disks | Pic. 8 Disk format option |
System installation
The next step is the actual installation, which includes copying of the files, installation of the features and updates (Pic. 9). This step takes the most time but should not take longer than 20 minutes.
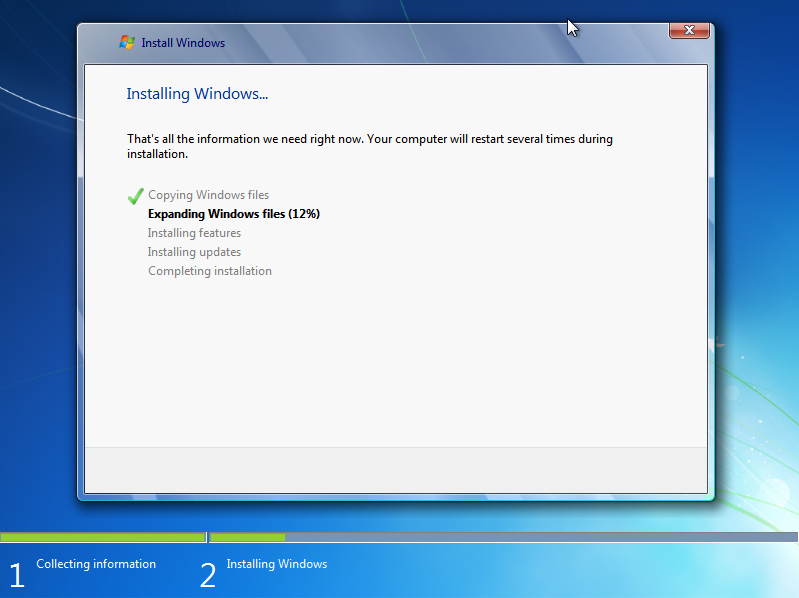 |  |
| Pic. 9 Windows installation |
System restart
When the installation files are copied and features and updates installed, the computer will restart automatically and the installation will be completed (Pic. 10).
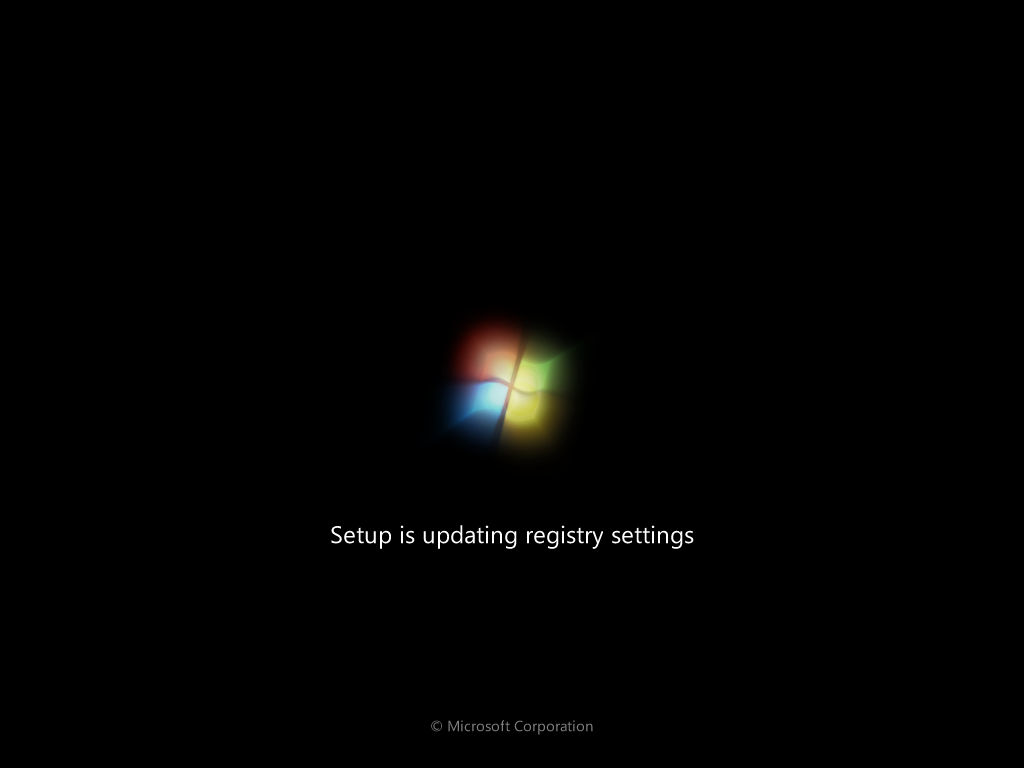 |
| Pic. 10 Completing installation |
User setting
In the next two steps, you will choose your user name (which you will use for your Windows login. A computer name will be generated for you and can be changed according to your requirements. Clicking Next will take you to setting up your password (Pic. 11). Choose your password, retype the password in the second line and type a password hint, to help you remember your password in case you forget it.
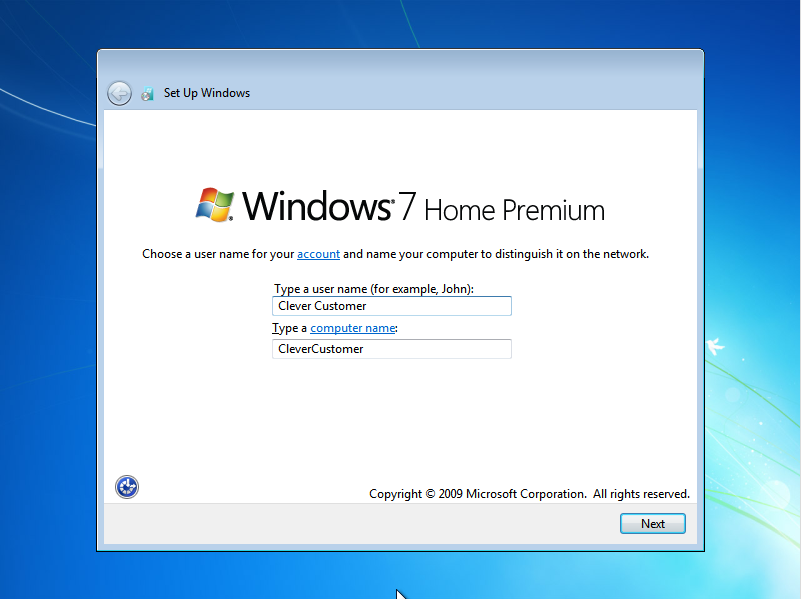 | 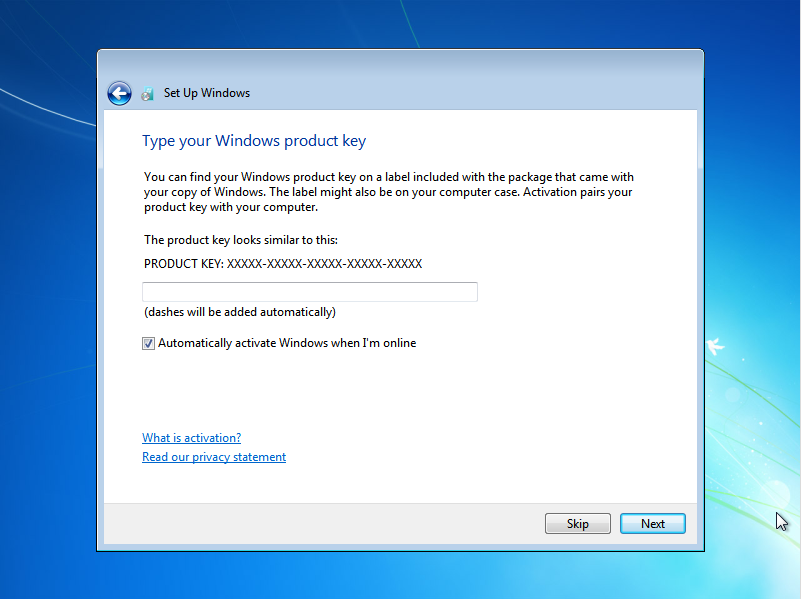 |
| Pic. 11 User name selection | Pic. 12 Enter Product Key |
Help protect and improve Windows automatically
This step lets you choose the protection and automatic update options (Pic. 13). We recommend using the Recommended settings.
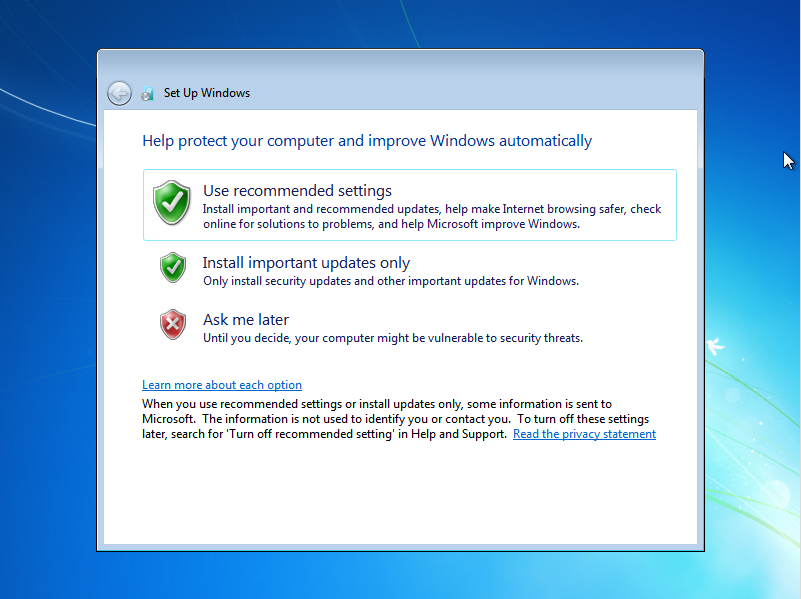 |
| Pic. 13 Protection and automatic update options |
Time and date
In this step (Pic. 14) check if the time and date is correct and click Next.
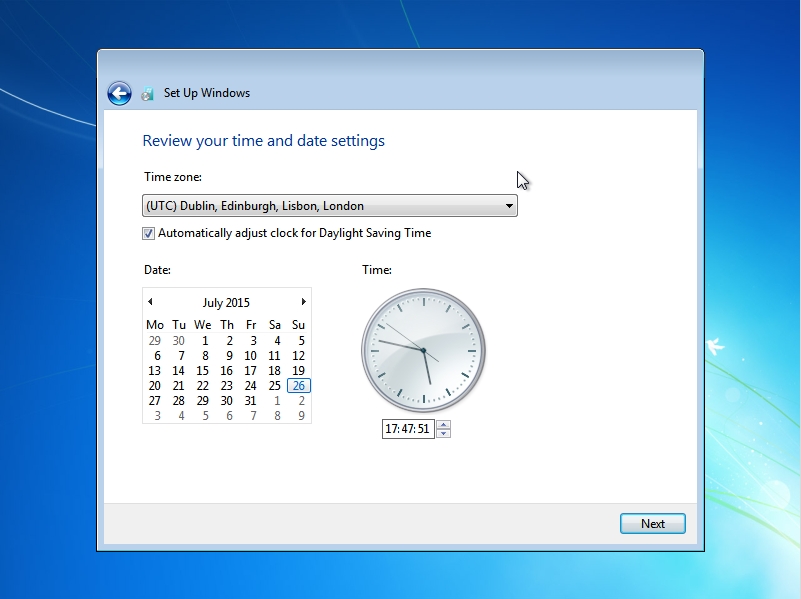 |
| Pic. 14 Time and date |
Network setup
If you are connected to a network, the Choose a network type window will pop up (Pic. 15). Choose the network type and click Next.
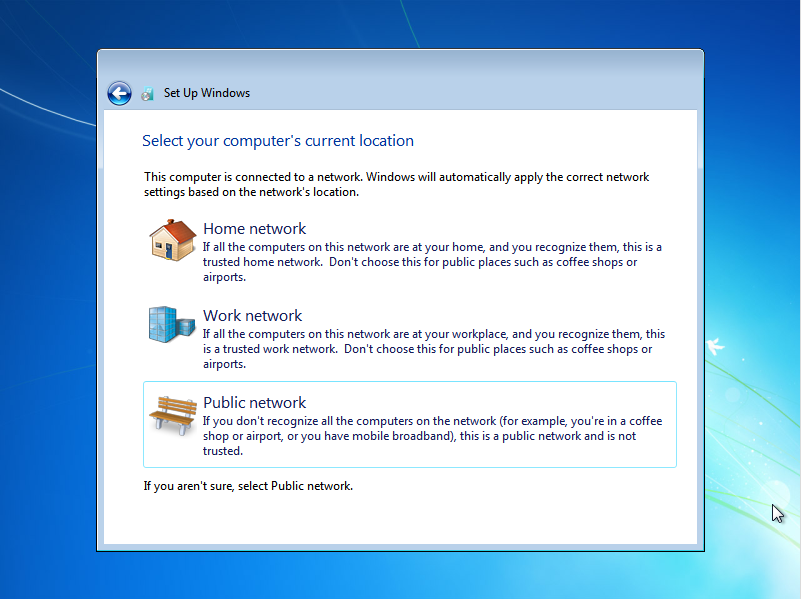 |
| Pic. 15 Network type |
Finishing the installation
Welcome! The installation process is complete. Just wait until your desktop is prepared.
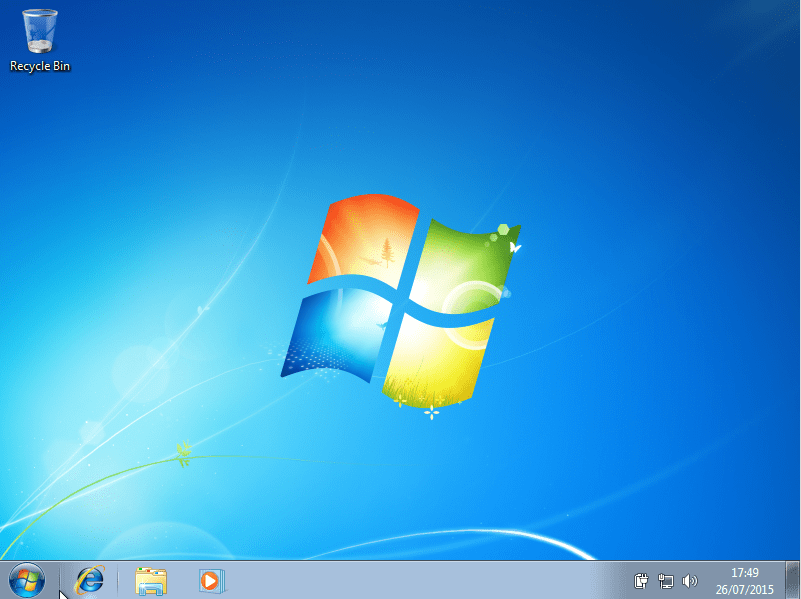 |
| Pic. 16 Welcome |
System activation
Your system must be activated within 30 days after installation. The activation can be performed over the internet or phone. You can find the activation guide on our Windows support page.

I know this if off topic but I’m looking into starting
my own weblog and was wondering what all is required to get setup?
I’m assuming having a blog like yours would cost a pretty penny?
I’m not very web smart so I’m not 100% certain. Any recommendations or advice would be greatly appreciated.
Thank you
Dear Friend,
You need to obtain your own web page name if you do not want to join any one else like me to communicate with the public.
You need to obtain your server or big servers like godady…
You need a web developer like me to install your site and maintain it for you.
Then you are good to go.
For details or cooperation contact me.
hi